
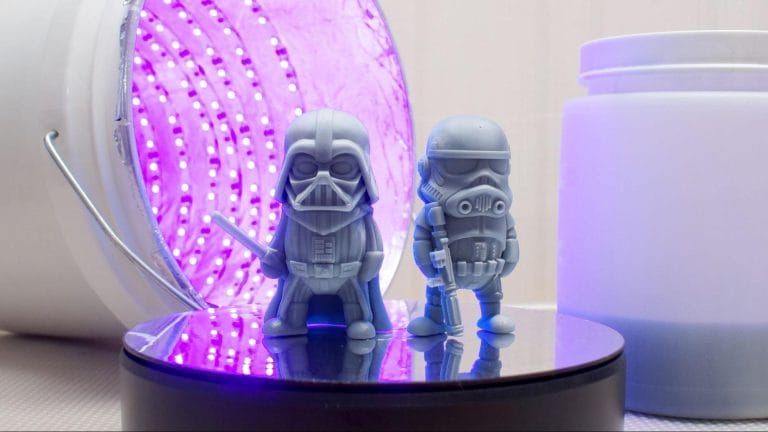
Have you ever looked at those incredibly detailed miniatures in a game or a spectacular diorama and thought, „I wish I could do that”? If so, welcome to the fascinating world of 3D resin printing :)
It can seem intimidating at first. You hear terms like SLA, MSLA, exposure time, isopropyl alcohol and you think you need a chemistry lab, not a hobby. But the truth is, once you understand the basic steps, the process becomes logical and extremely rewarding.
This guide is your map. We'll go through everything you need to know, from safety (very important!), to preparing your files, to the magic moment when you hold your own resin figurines.
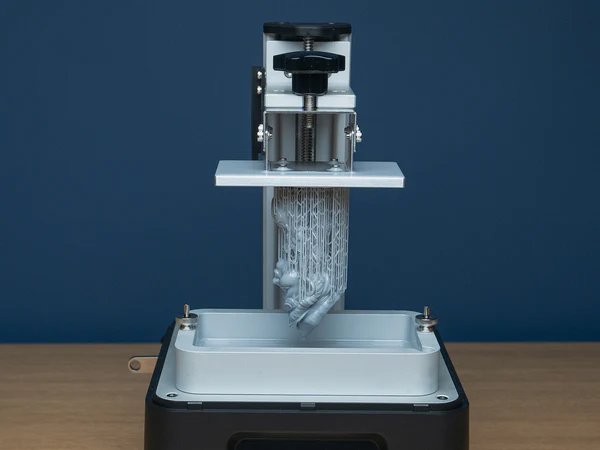
If you're familiar with traditional 3D printers (FDM) that melt a plastic wire layer by layer, you should know that the resin works completely differently.
The technology (called SLA, DLP or MSLA) uses a photopolymeric liquid resin. It hardens when exposed to UV light. The printer has an LCD screen that masks the light, allowing it to pass through only in the shape of the current layer of your model.
Why is it ideal for figurines?
Resolution. Resin printers can reproduce microscopic details that a filament printer cannot. The texture of skin, the details of armor or the facial expressions of some resin figurines are impeccably rendered, the surfaces are smooth and ready to paint.
Before you buy your first bottle of resin, we need to talk about safety. Liquid resin is a toxic and irritating chemical. It is not water and should not be treated carelessly.
Here's the „holy trinity” of resin printing safety:
Important note on disposal: Never, but absolutely never, pour liquid resin or resin soiled water/alcohol down the sink or toilet. It is extremely harmful to the aquatic environment. Anything that is contaminated with resin should be exposed to the sun (UV) until it hardens completely, and only then can be disposed of in the household garbage.
As well as your 3D printer, you'll need a few accessories to get the job done:
| Material | Description |
|---|---|
| Resin Standard Grey | Ideal for starters; the gray color best highlights details and any flaws. |
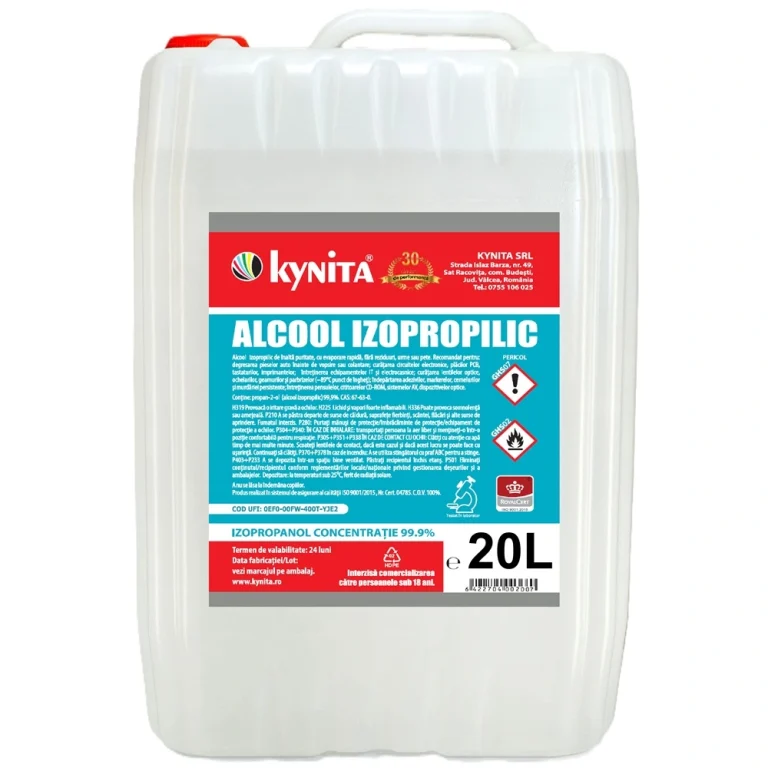
| Isopropyl Alcohol (IPA) | Used to wash excess resin from prints (concentration 90% or higher). |
| Wash container | Plastic casserole with tight-fitting lid or dedicated Wash & Cure station. |
| UV light source | Sun is an option, but a UV lamp or dedicated station gives more consistent results. |
| Plastic spatula and pliers | The spatula helps to peel off the print and the pliers help to cut the media. |
| Silicone mat | Protects the work surface from resin drops. |
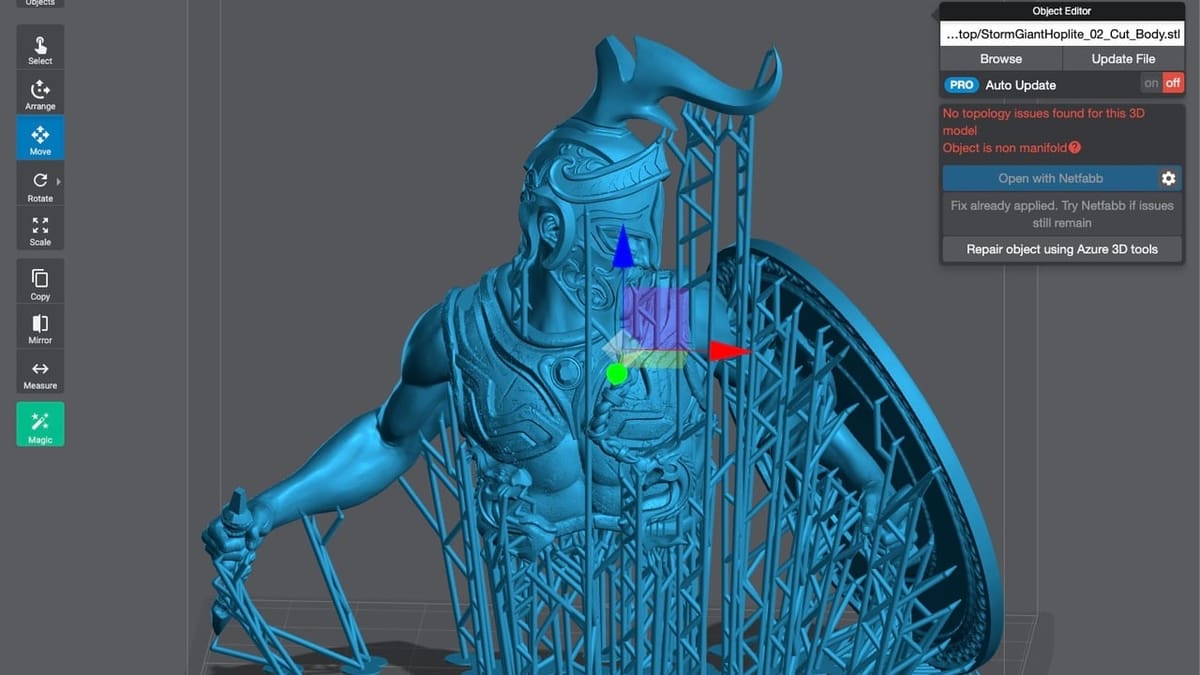
You can't just send a 3D model to the printer. You have to use a slicing program (like Chitubox or Lychee Slicer) that turns the model into instructions for the printer.
It's critical. If the print bed is not perfectly straight to the screen, the print will not stick. Follow the manufacturer's instructions carefully (the paper sheet method is the most common).
Most resin printers are equipped with an easy leveling process. Usually this
process involves loosening the screws on the build plate, lowering it down to the LCD screen
with a piece of paper between them and tighten the screws
maintaining a slight resistance on the paper. This ensures that the bed
is perfectly parallel to the screen.
This is the simplest step.
Start printing: Listen carefully to the first few layers to make sure everything adheres correctly. You should hear the specific sound of the resin coming off the foil (VAT), which is a good sign that the print will be successful. If the first layer doesn't stick to the build board, stop printing, renive the board and try again, or change the orientation of the pattern in the slicer.
Monitor printing: Although resin 3D printing can take some time, it's a good idea to check your progress regularly. Most resin printers show you a preview of the current layer, so you can spot any problems early.
Once the print is finished, it will be covered with a sticky layer of liquid resin.
A trick from the pros: Use warm water.
Before finally cleaning (curing) the model, immerse it in warm water for a few seconds. The heat softens the supports, making them much easier to detach and leaving fewer marks on your precious needles resin figurines. Break the supports carefully, don't pull them roughly.
The model is still soft and toxic. Now it must be exposed to UV light to fully polymerize.
Don't be discouraged if the first print fails. It happens to the best of us.
Most of the time, the problem is a matter of leveling (recalibrate!), check the type of resin chosen. Clean the vat and check for hardened resin.
It may be mainly due to insufficient supports or lack of holes for the resin to exit the inside of the model. Drill at least two holes: one top and one bottom.
You probably overexposed the normal layers (over-exposed) or didn't wash the resin thoroughly before cleaning.
Creating your own resin figurines is a hobby that combines technology with art. The first time you hold in your hand a character you've created, detailed down to the last button on the coat, you'll forget all the calibration and cleaning.
Remember: patience is key. Experiment, be safe and enjoy the process. If you need inspiration or new designs, the online community is vast and welcoming.
Ready to get started? Set up your workspace, put on your gloves and bring your ideas to life!


