

The winter holidays bring traditions, creativity and the desire to have authentic symbols in your decor. Resin Christmas figurines are the perfect solution to bring original, durable and attention to detail accessories into your home. Whether you're a beginner or experienced DIY (Do It Yourself), below you'll discover why Christmas figurines are so popular and how you can create them yourself at home.
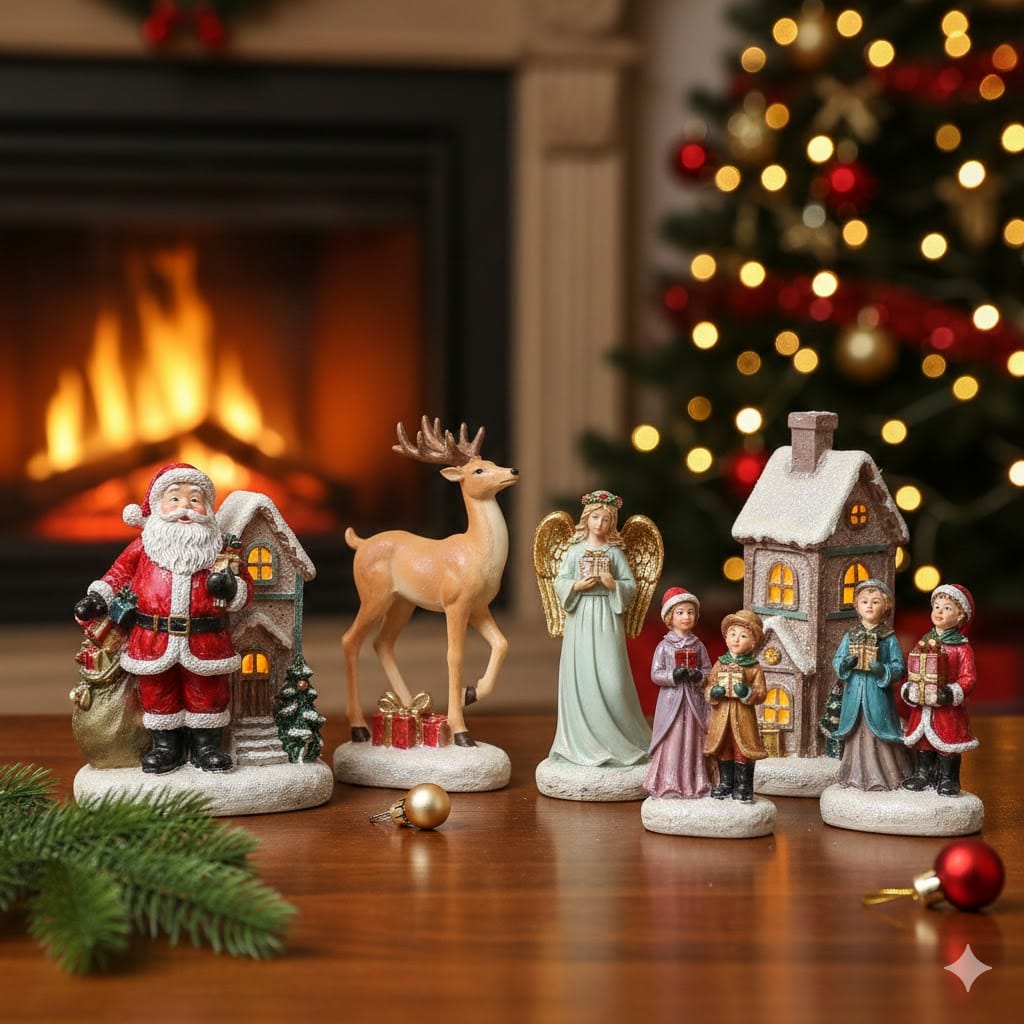
Resin Christmas figurines are decorative miniatures, molded from a durable and versatile material specifically designed to render detailed shapes and intricate designs. Some of the most popular resin Christmas figurines include Santa Claus, angels, reindeer, reindeer, stars or characters from winter fairytales. These Christmas figurines can be used as ornaments for the Christmas tree, for the holiday table or as keepsakes.
Handmade Christmas figurines are prized for their uniqueness, their personal charm and the fact that they turn every decoration into something special. In a world full of standardized products, handmade Christmas figurines bring emotional value and authenticity to every holiday.
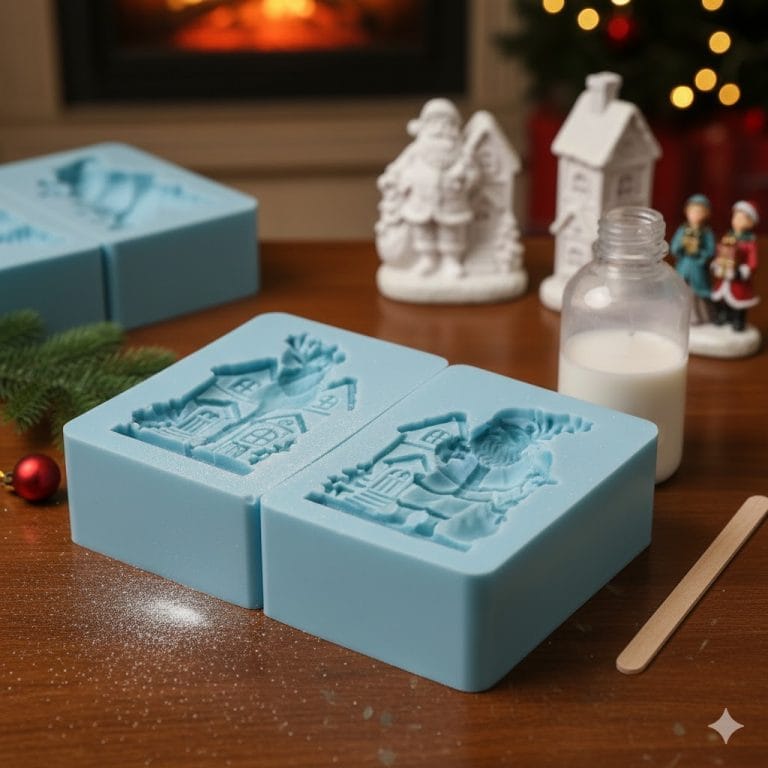
Even if you're a beginner, making resin Christmas figurines can be an enjoyable and affordable activity. Here's a clear guide with all the steps you need to follow to make the most beautiful Christmas figurines.
| Material / Tool | Main role |
|---|---|
| Epoxy resin + hardener | Basic material for molding figurines |
| Silicone mules (Christmas) | Shaping molds |
| Pigments / glitter | Coloring and decorative effects |
| Mixing & measuring sticks | Correct dosing and mixing |
| Hot air gun / lighter | Eliminating air bubbles |
| Protective equipment + film | Safety and surface protection |
| Fine sandpaper | Finishing edges |
| Acrylic brushes & colors | Final details |
| Stage | Description |
|---|---|
| 1. Space preparation | Choose a well-ventilated area and prepare the necessary materials. |
| 2. Mixing the resin | Respect the resin-hardener proportions and mix for 3-5 minutes until homogenized. |
| 3. Adding colors | Add pigments or glitter for the effect you want. |
| 4. Casting in molds | Pour the resin into the molds and remove air bubbles with hot air. |
| 5. Drying | Leave to harden for 24 to 72 hours as directed. |
| 6. Dismantling and finishing | Remove the figurines from the molds and smooth the edges. |
| 7. Hand painting | Add finishing touches with brushes and acrylic paints. |
Don't be discouraged if the first print fails. It happens to the best of us.
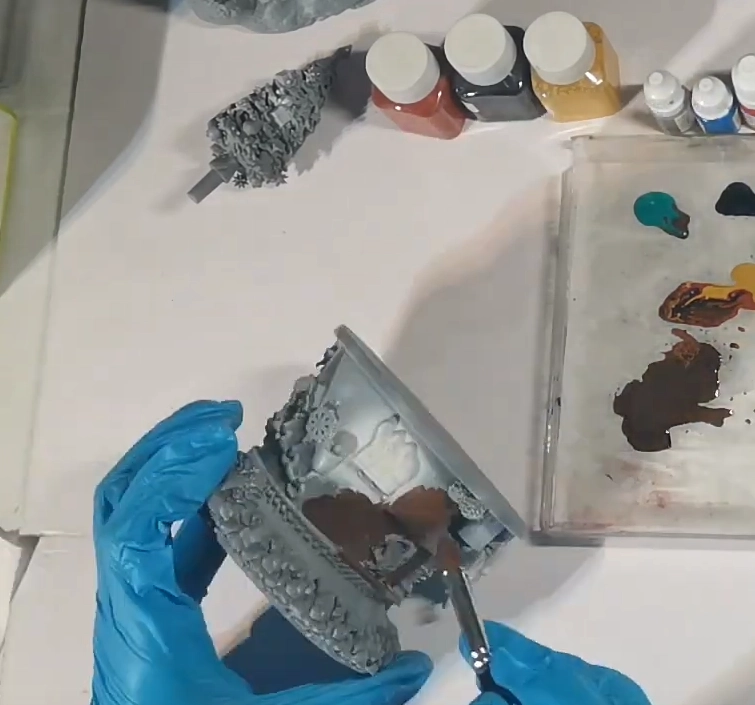
For superior results and award-winning detail, the professional process of creating resin Christmas figurines involves advanced technologies and technical expertise.
Whether you choose to create at home or order professionally made Christmas figurines, these decorations transform the festive atmosphere and provide memorable gifts. Resin Christmas figurines combine the magic of Christmas with the creativity and personal touch of each artist or workshop.
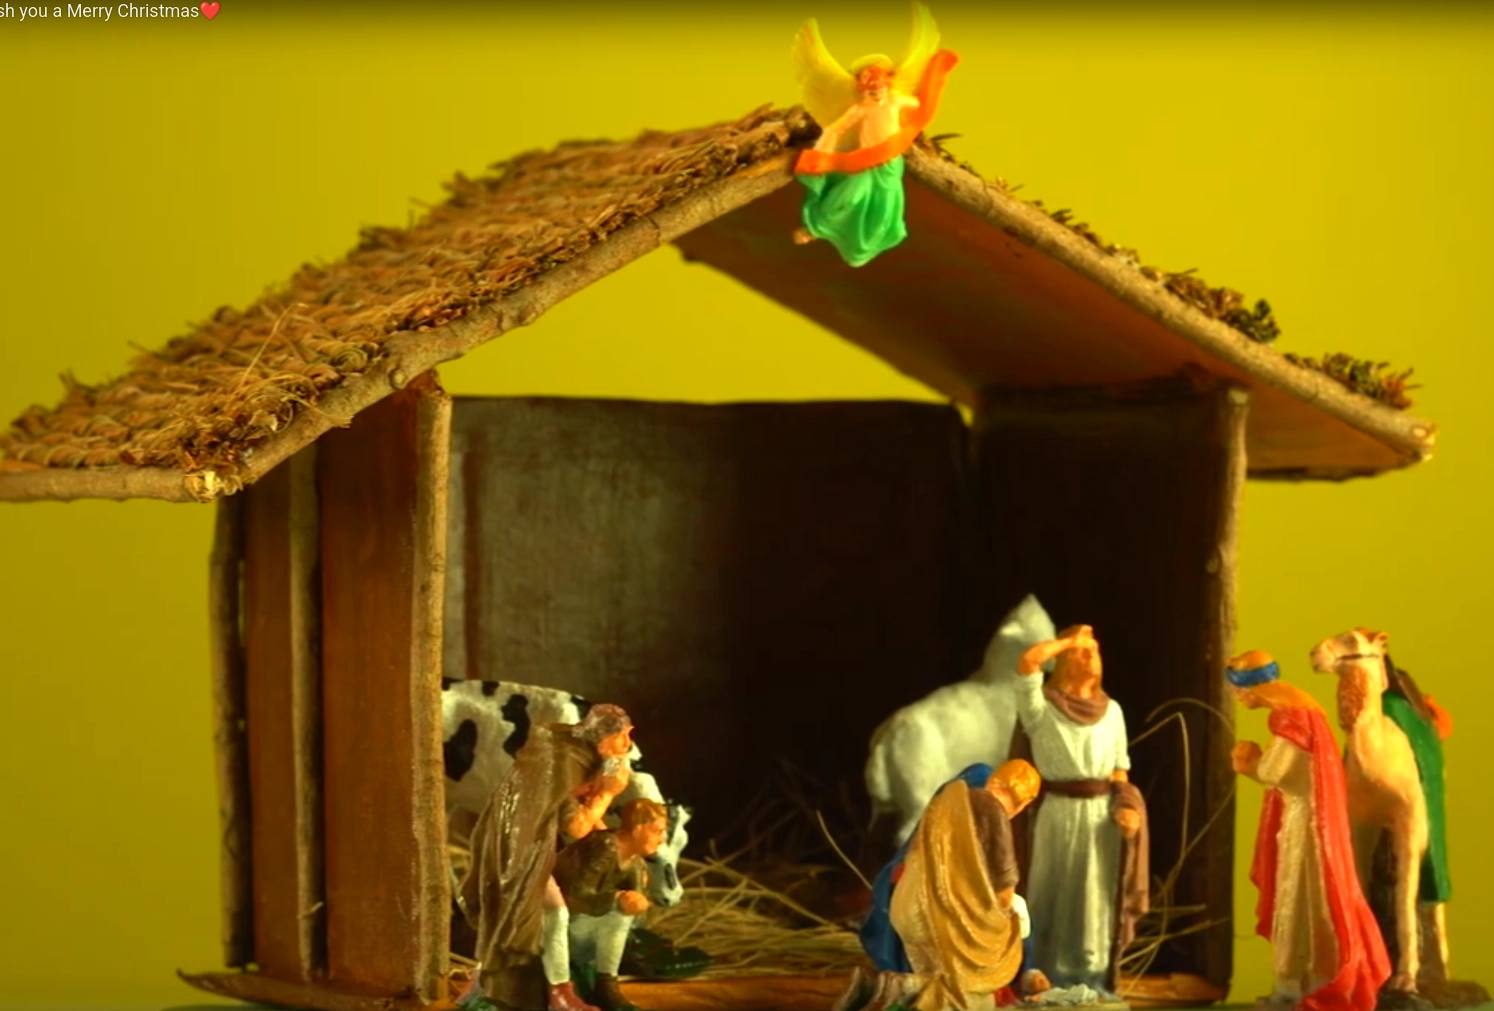
Creating your own resin figurines is a hobby that combines technology with art. The first time you hold in your hand a character you've created, detailed down to the last button on the coat, you'll forget all the calibration and cleaning.
Remember: patience is key. Experiment, be safe and enjoy the process. If you need inspiration or new designs, the online community is vast and welcoming.
Ready to get started? Set up your workspace, put on your gloves and bring your ideas to life!


